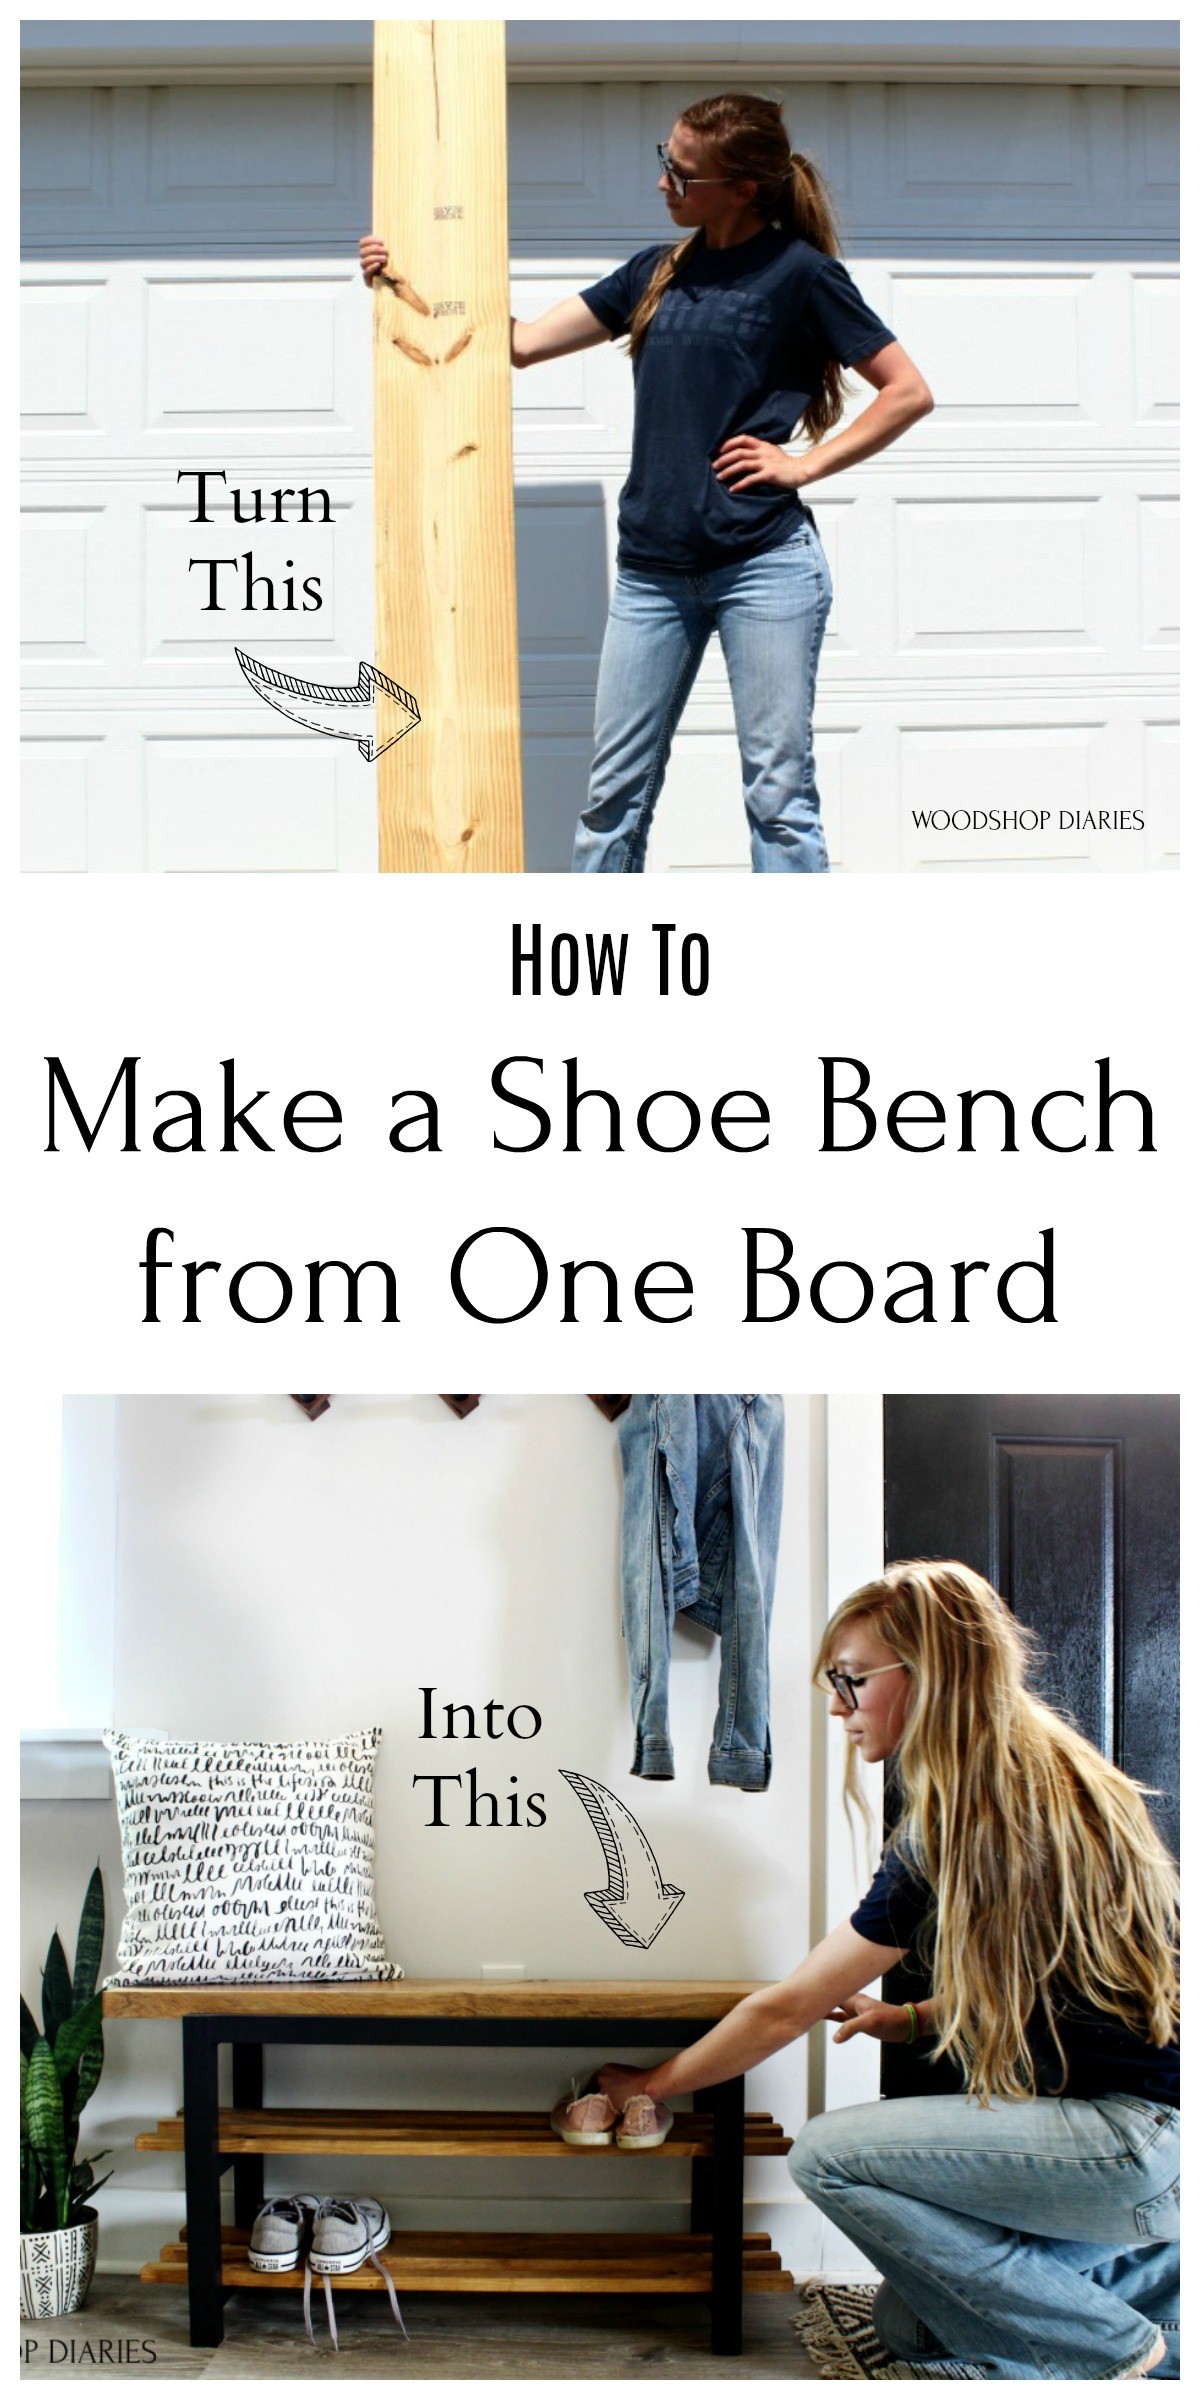
How to Build an Easy Bench With Shoe Storage
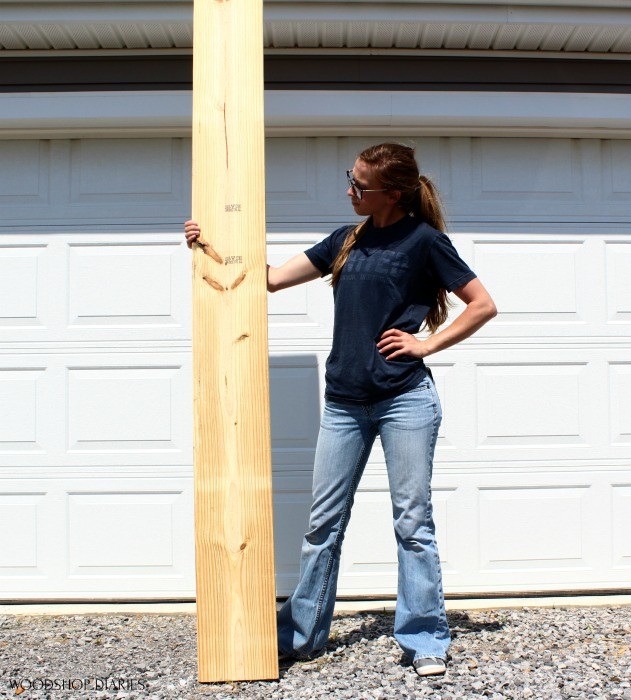
I'm bringing you another ONE BOARD PROJECT!! Can you believe you can make a DIY shoe bench from a single 2x10x8 board?
I've got a scrap cart full of scraps that I could have used, but I've also got some random leftovers on my wood rack, too.
.
After a little digging, I found a whole 2x10x8 that I had purchased for a previous project, but ended up not using. A whole board may not "TECHNICALLY" be considered scrap wood, but in my case, it was close enough.
.
My friend, Lindi–from Love, Create, Celebrate, asked me to join her on her "Scraps Made Modern" series and challenged me to make something modern using only my scrap wood.
.
This actually isn't the first time I made something completely from a single 2x10x8 board. A couple years ago, I actually made a really cool bar cart from a 2×10. So I knew I could come up with something equality as cool to make with this one.
.
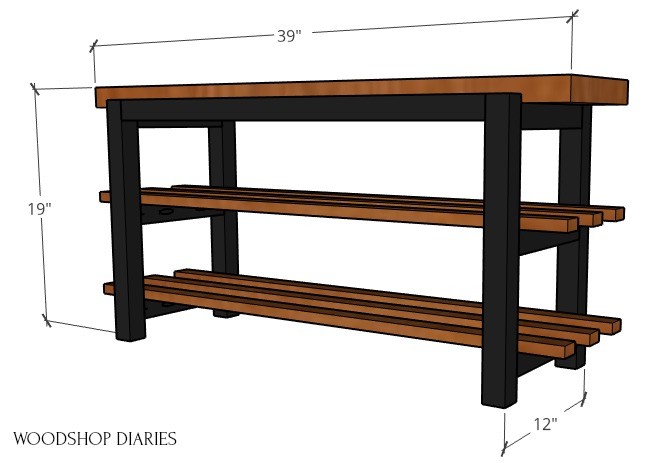
And I decided on this DIY shoe bench! Can you believe this this whole bench was made from a 2x10x8 board?? That's like only $7 (at the time I bought it)!! I've got the video tutorial here and the step by step below
This post contains affiliate links. See policies.
Step 1: Cut Down the Board
I took a few minutes to draw out all the cuts and pieces before I got to work. I only had one shot at getting this right—I didn't have second board—so I took a second to plan.
.
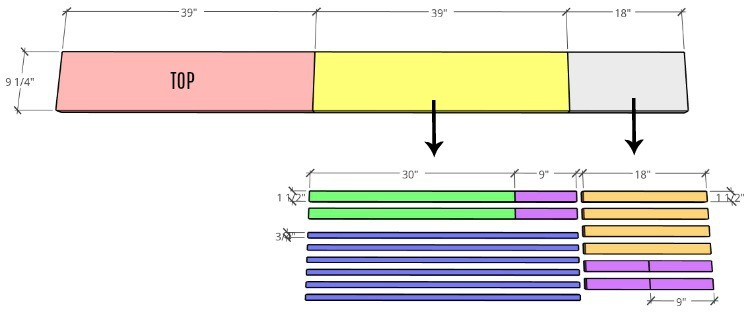
First, I cut it down into two 39" pieces and one 18" piece. Then, I ran them through the planer before I moved on to make sure they were flat–that's an optional step.

I set one 39" piece to the side to use as the top later. And I ripped the other down on the table saw to make two 2x2s and six 1x2s. There was one small 1×2 ish sized strip leftover from that, but it actually went back into the scrap pile.
.
Then I ripped the 18" piece into six 2x2s. Just a side note here…because of the blade thickness on these cuts, I recommend ripping the 2x2s only 1 ⅜" wide instead of the full 1 ½". If you rip the full 1 ½", the last piece will be too thin to really consider a 2×2.
.
Once everything was ripped down, I cut two of the 18" pieces in half (to get two 9″ pieces) and cut 9" off the two 39" 2x2s. I know that SOUNDS confusing, but this diagram spells it out pretty clear.
Step 2: Assemble Frames of Shoe Bench
Now that everything was cut, all that's left is the assembly.
.
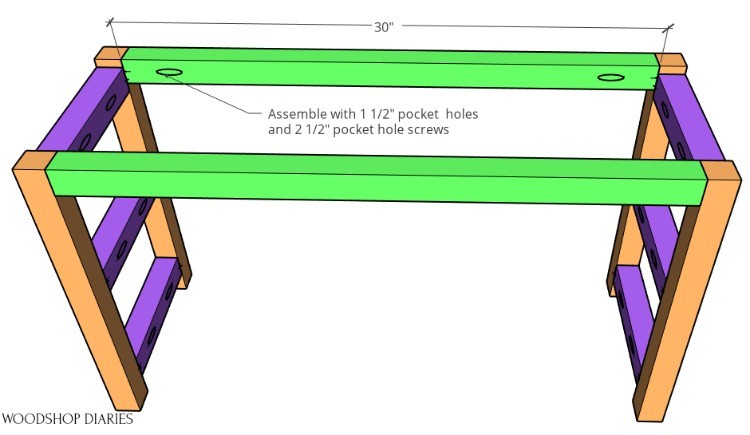
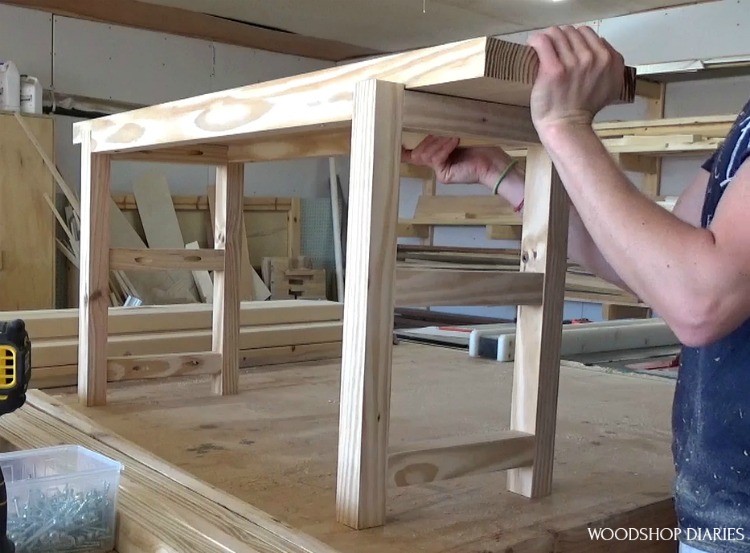
I used 1 ½″ pocket holes and 2 ½″ pocket hole screws to assemble the shoe bench frame—just trying to keep things simple. I attached the 9" pieces between the 18" pieces to make two bench sides. As a subtle detail, I installed the top 2×2 slightly below the top of the leg. This will allow the top to sit down into the frame later vs. just sitting on top.

Then, I installed the two long 2x2s between the frames at the top.
NOTE: When working with 2x2s, I find it easier to use wood glue and ONE pocket hole screw per joint. Using two pocket hole screws usually causes the ends to split.
Step 3: Cut Shoe Bench Top and Slats
While the glue dried, I trimmed a little of the top board. Because I typical 2×10 is 9 ¼" wide and I made my bench frame with 9" slats, I needed to trim about ¼" off the top to fit. I basically just ran it through the table saw on each side to clean up the factory edges until it fit down into the frame.
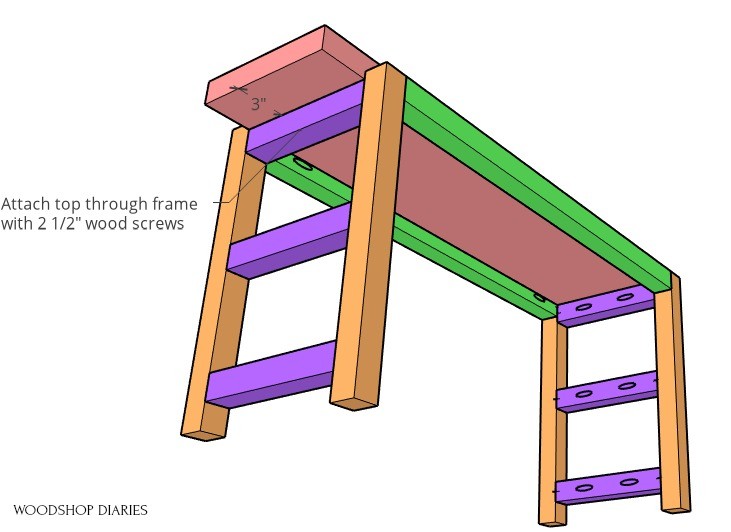
Before I stained the slats, I trimmed about 3" off the ends. No reason for this really except I liked the look of them being not quite as long as the top. To each their own haha.
Step 4: Finish and Install Top and Slats
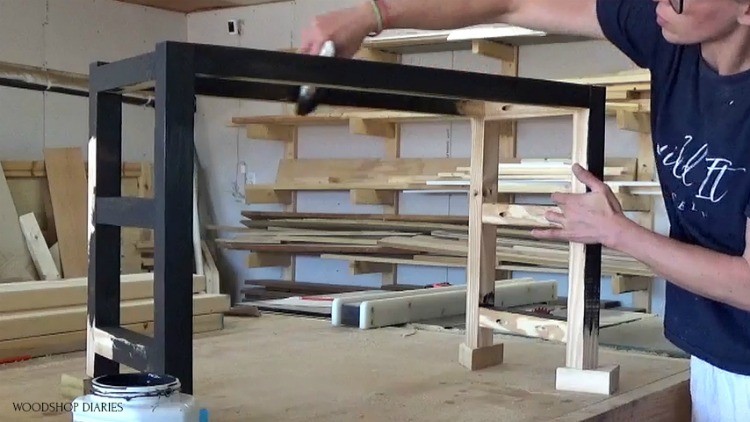
I've recently been digging the black and wood trend—modern, industrial, or whatever style you want to call it…I'm here for it haha. So I gave this frame a coat of black paint (Sherwin Williams Black Magic) and then I stained the top and the six 1×2 slats (Minwax Early American).
Once all the finish was dry, it was ready to install the slats and top. I installed the slats first, then the top, but in hindsight, it's easier to get into the tight spaces to drive the screws if the slats aren't already there. So I recommend screwing the top in place before attaching the slats. I used 2 ½″ woods screws to attach it.
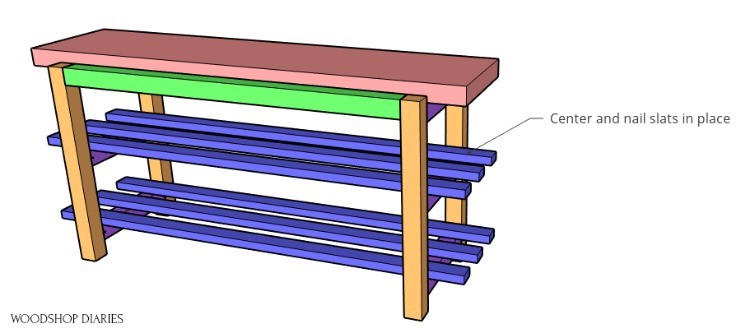
Then I used the nail gun to attach the slats. It was difficult to get into these tight places with a drill to screw the slats in place, so I ended up just using a nail gun. That was also somewhat difficult, but doable.
And after a couple coats of clear coat poly on the top and slats, this DIY shoe bench was ready to use.
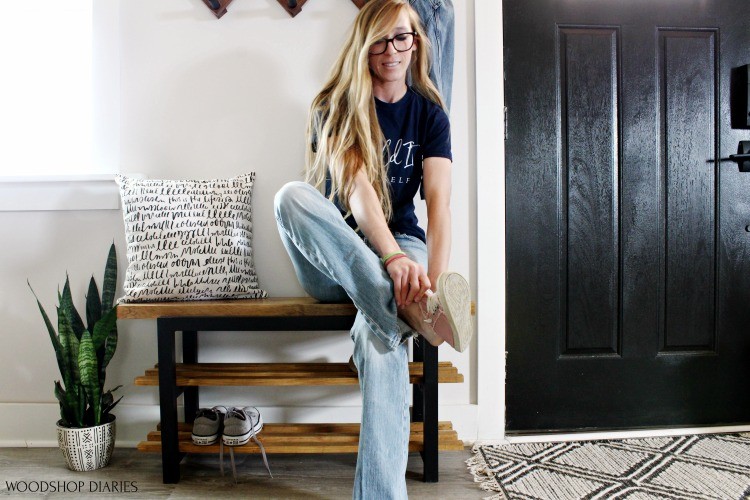
This project isn't a huge, elaborate piece. But I think it's pretty cool it all came from a single board…and there was even a little piece leftover!

It's amazing what you can make with a single board when you get a little creative. Don't forget to check out my other 2×10 board bar cart project, too. It's one of my all time favorites!
.
I hope you have enjoyed this simple scraps made modern DIY shoe bench project. Check out plenty more scrap wood projects over here.
-
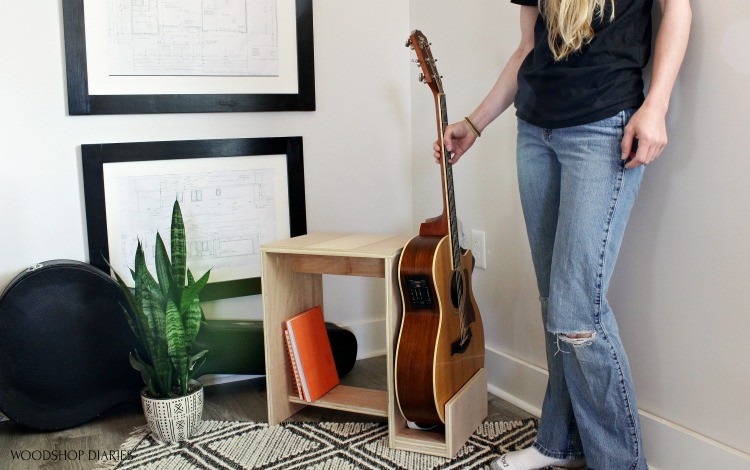
Guitar Stool Stand -
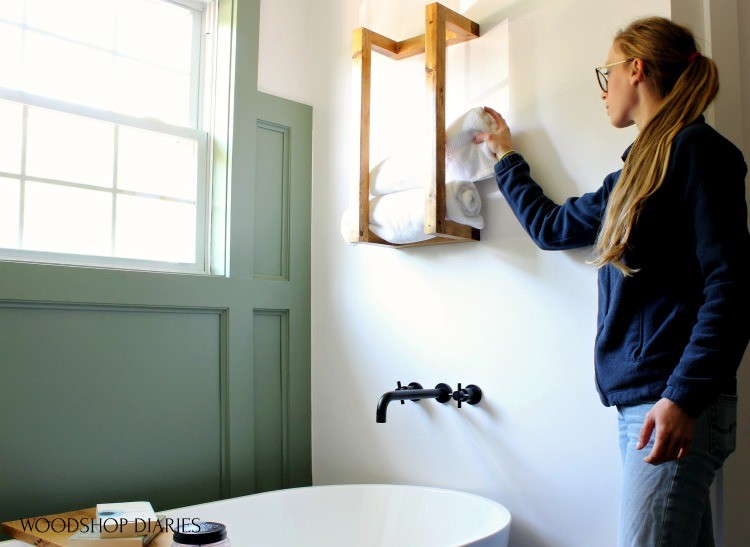
Scrap Wood Towel Rack -
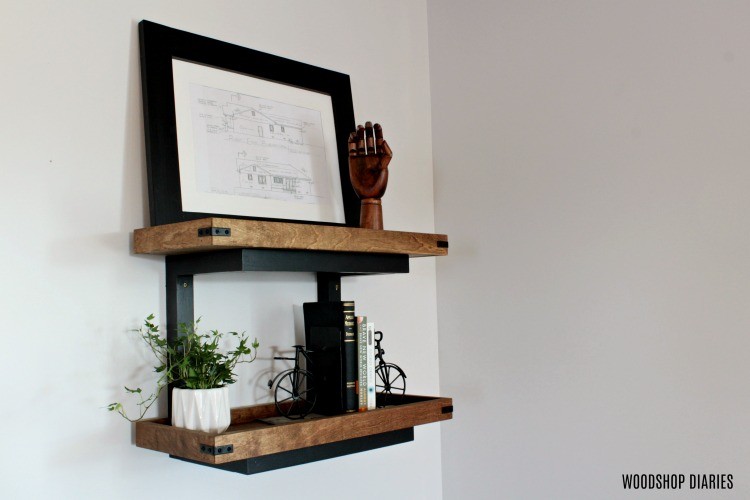
Scrap Wood Wall Shelves -
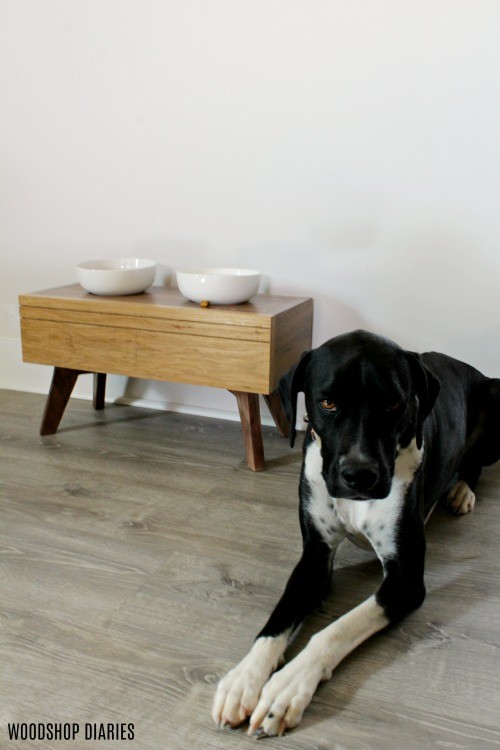
Scrap Wood Dog Food Stand -
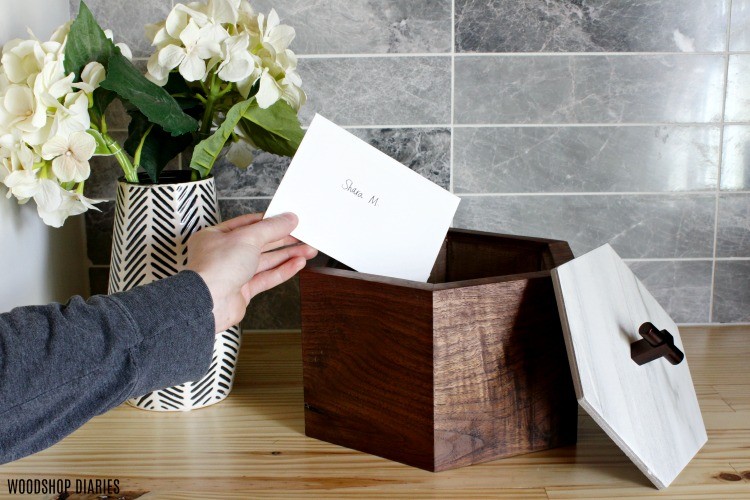
Scrap Wood Keepsake Box
If you want to save this project for later, be sure to pin it!
And don't forget to subscribe to the newsletter below so you don't miss out on what's coming next!
Until next time, happy building 😊
Source: https://www.woodshopdiaries.com/diy-shoe-bench-from-one-2x10-board/
0 Response to "How to Build an Easy Bench With Shoe Storage"
Postar um comentário